

Earlier, we reported that Parallels Desktop 8 had been updated to support running the OS X Mavericks Developer Preview – but for those who aren’t clear on how to make it work, or those who want a quick cheat sheet, Parallels has posted a full guide to installing Mavericks atop OS X Mountain Lion in a virtual machine.

Note that you mist have the latest update to Parallels Desktop 8 in order for this to work correctly. From Parallels:
Installing OS X 10.9 Mavericks Developer Preview in a blank virtual machine is not supported at this time.
However, you can upgrade an already existing OS X virtual machine to OS X 10.9 Mavericks Developer Preview. To do so, please follow these steps:
- If your virtual machine is running, shut it down and click Virtual Machine > Take Snapshot. If anything goes wrong, you will be able to roll back the changes.
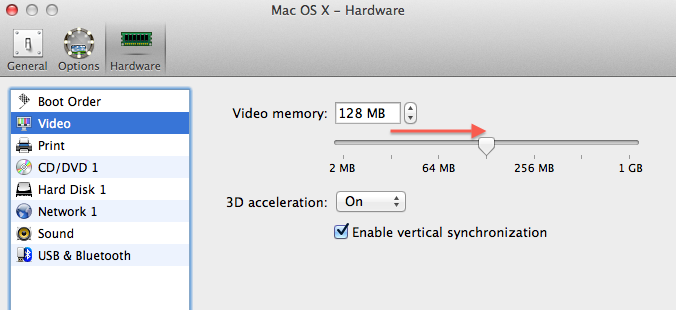
- Click Virtual Machine > Configure > Hardware > Video and set 128 MB of video memory.
-
Once ready, start the virtual machine and download OS X 10.9 Mavericks Developer Preview.
-
Double-click the installation file and follow the on-screen instructions.
That’s all there is to it – with a bit of time and a dose of luck, you’ll be up and running Mavericks on your Mountain Lion install in no time!
For more helpful tips, check out our full collection of tutorials by visiting our How-To category!
