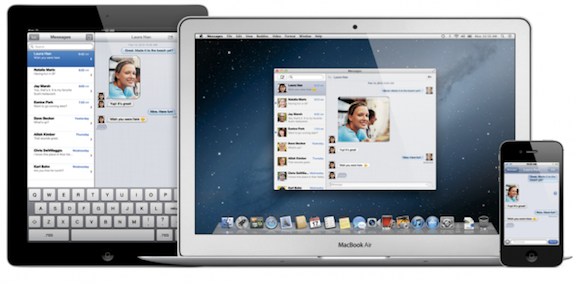
With the release of OS X Mountain Lion, a new, more streamlined way of sending messages not only to other Messages users, but also to friends with accounts on AIM, Yahoo!, Google Talk, and Jabber has arrived. We’ll take a quick look at how to start, setup, and use Messages.

First, to start the Messages application, take your mouse pointer down to your dock. You should see the Message icon there. Just click the icon, and Messages will start up.

If you’ve already set up your Apple ID for iCloud, you should be good to go, if not, you’ll be prompted to do so when you first launch the app. Just type in your Apple ID credentials and submit them.
If you want to add other IDs, such as your AIM, Yahoo!, Google Talk, or Jabber ID, just go up to the Messages menu in the upper part of your screen, and click “Preferences…”

Click the “Accounts” icon at the top of the dialog box, you’ll then see the screen where you can add an account, just click the “+” in the lower left corner of the preferences window, and you’ll see the following prompt.

Just enter the information for the account you want to add, press done, close the preferences window, and you’re good to go.
After setting up Messages, it’s time to use it as Jobs intended, to send messages!
Start typing the name of the person in your address book that you’d like to iMessage. You’ll notice that some names have blue bubbles next to them and some won’t. The name that do are addresses that you can send iMessages to because they are either Apple ID’s or their phone number is connected with an iPhone with iMessage enabled.

Select the name of the person you wish to message, and start typing. (As you can see above, I selected myself, as it’s late at night when I’m writing this, and also because I enjoy talking to myself.)
The interface should look familiar to anyone who has used the Messages app on their iPhone.
In addition to simply carrying on a chat with another user, you can also send them files, simply drag a file into the conversation, and it will attach to a message balloon. You can optionally add a message, hit enter, and the file will be sent to the user you are conversing with.
File size limits are reported to be somewhere between 101.4 MB and 194 MB. If you’re up sometime late at night and don’t have anything better to do, play with differing files sizes and see if you can discover the exact limit. Then send me an email at chris@www.mactrast.com and let me know.
 Of most importance to some users, you can see in the above screenshot that, yes, you can send emoticons, albeit a limited selection of them.
If, during a messaging session, you get the unbearable urge to see the face of the person you’re chatting with, you can start a FaceTime session by clicking the camera icon at the top of your chat window. FaceTime will start up, and you can begin a video chat session.
You’ll also find that if you just can’t stand to manually type another sentence, you can also use the new dictation feature also available in Mountain Lion.
That covers the high points of the new Messages app in Mountain Lion. You should now be able to use it without doing too much damage to you or your Mac. I’ve found it’s very handy to use Messages from the desktop, so I don’t have to keep one eye on my iPhone and one eye on my Mac while working.
Make sure to check out our full Mountain Lion coverage for all of the latest updates, or check our Mountain Lion U category to see all of the latest Mountain Lion features, tips, tricks, and tutorials!


