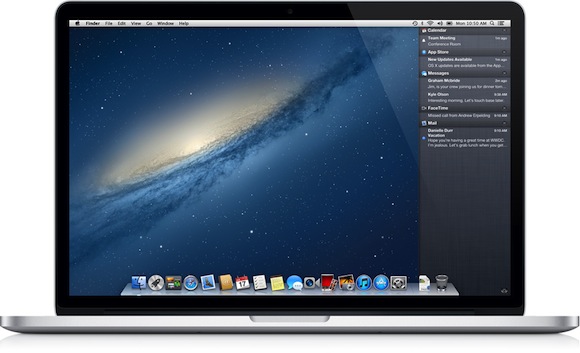
Considering that OS X Mountain Lion is only available through the Mac App Store, Some people worry about the lack of a restore disc. We’ll explain how to create your own bootable OS X Mountain Lion installer.

While Mountain Lion being available on the Mac App Store certainly has its benefits, many people still desire a physical backup, and more importantly, a restore medium that could be used in the event of a major software or hardware failure.
Sure, you could go to the Apple store or an authorized service provider, or even use Internet Restore – but you can save a lot of time by making a backup medium yourself. The process is pretty simple. Just follow the simple steps below:
Creating A Physical Backup Of The OS X Mountain Lion Installer
Step 1: Download Mountain Lion from the Mac App Store as usual. Once you have it, open a Finder window, locate the OS X installation file that you just downloaded, right click (or option-click) on it, and select “Show Package Contents.”

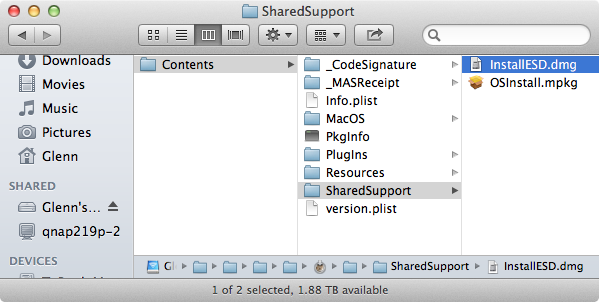
Step 2: Within the contents of the package, you’ll see a “SharedSupport” folder. Open it. Inside that folder, you will find an image file called “InstallESD.dmg”. Copy this file to your desktop and mount it – this is the actual working image file that you can burn to a DVD, and clone to an SD card, USB thumb drive, or hard drive partition.
The rest of the magic all happens via OS X Disk Utility. Now, simply launch Disk Utility (located in the Utilities folder within your Applications folder).
To burn to a DVD, just insert a blank dic (must be dual-layer for Mountain Lion), right click or option-click the DMG, and select “Burn InstallESD.DMG.”
To copy to an SD card, flash drive, or hard drive partition (Make sure your destination has at least 5GB free), just option-click the volume inside of the DMG, select “set as source”, click the “restore” tab in Disk Utility, drag the volume you want to copy it to into the “destination” field in the “restore” tab, make sure you select “erase destination”, and then click the “restore” button.
Voila! It is that simple, and now you can rest your mind, knowing that you have an emergency backup of Mountain Lion that you can carry with you and use in emergencies. Did you enjoy this tutorial? Let us know by sounding off in the comments!
*Note: It is important to either move the ‘Install OS X Mountain Lion’ file to another folder once downloaded, or that you burn your backup DVD or USB drive before attempting to install Mountain Lion – otherwise the installer will vanish, and you’ll have to re-download it!
Make sure to check out our full Mountain Lion coverage for all of the latest updates, or check our Mountain Lion U category to see all of the latest Mountain Lion features, tips, tricks, and tutorials!


