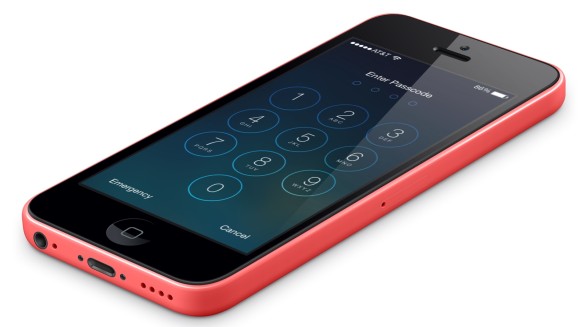
As you may recall, earlier this year the FBI was pushing Apple to help them retrieve data from a terrorist’s locked iPhone. The reason the FBI said they required Apple’s help was due to the fact the device was locked with a numeric passcode, and 10 failed passcode entry attempts would erase the data on the device.

While we don’t recommend breaking any laws that might require the FBI to break into your iPhone, we do recommend protecting it with at least a four digit passcode, and setting the device to erase itself after 10 failed attempts, just in case it falls into the wrong hands.

Setting your iPhone (or iPad) to erase all of its data after 10 failed passcode attempts is dirt easy, but it just might keep your data from falling into the wrong hands someday, Here’s how you do it:
- Open the Settings app.
- Scroll down until your see the “Touch ID & Passcode” menu option.
- Tap that.
- Enter your passcode to continue. (You do have a passcode set on your device, correct? Otherwise, all of this is worthless.)
- Toggle the “Erase Data” switch to “ON.” (The switch is green when it’s in the ON position.)
That’s all it takes. Didn’t we tell you it was dirt easy? Now, if you’ll excuse us, there appears to be someone claiming to be the FBI that’s pounding on our front door…


